This post contains affiliate links. If you buy through them, brewing.com earns a commission at no cost to you. How we pick products
Coffee · Guide
Pour Over Coffee: Master the Art of Manual Brewing
| Pick | Best for | Price |
|---|---|---|
| Fellow Stagg EKG Pro | Gooseneck kettle | $199.95 ↗ as of 24 Sep 2026, 4:45am GMT+0000 Details (paid link) |
| Fellow Tally Pro Coffee Scale | Scale with timer | $199.95 ↗ as of 24 Sep 2026, 4:45am GMT+0000 Details (paid link) |
| Hario V60 Glass Coffee Server, 1000 ml | Server | $17.65 ↗ as of 24 Sep 2026, 4:45am GMT+0000 Details (paid link) |
| Hario V60 Ceramic Pour Over Set, Size 02 | Most control | $32.50 ↗ as of 24 Sep 2026, 4:45am GMT+0000 Details (paid link) |
| Kalita Wave Dripper, Size 185 | Most forgiving | $19.78 ↗ as of 24 Sep 2026, 4:45am GMT+0000 Details (paid link) |
Prices come from Amazon and refresh nightly. A pick shows “Check price” when we do not have a current figure for it.
What is Pour Over Coffee?
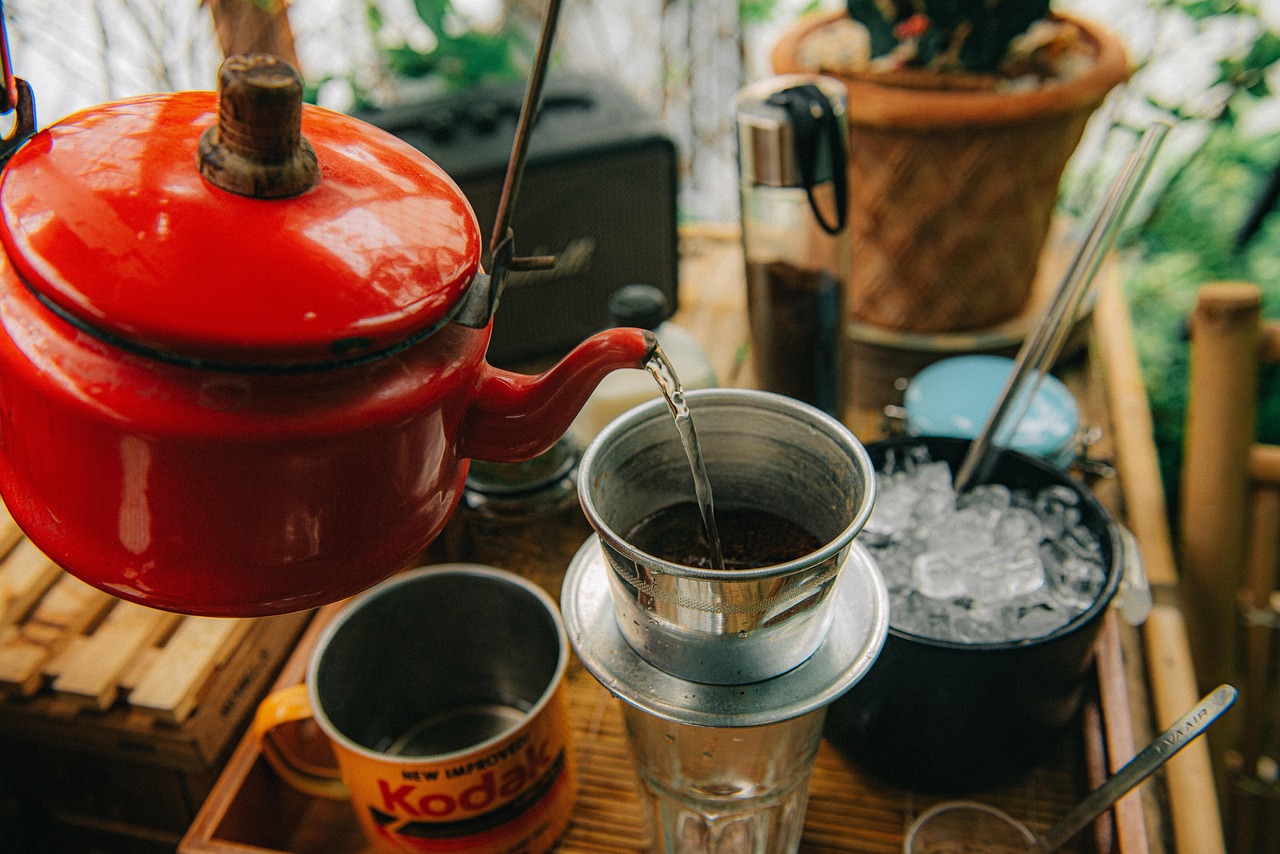
Pour-over coffee is a manual brewing method where hot water is poured over coffee grounds in a filter. Unlike automatic drip machines, you control the water flow rate, pour pattern, and brew time, resulting in a clean, nuanced cup that highlights the coffee’s unique flavors.
Equipment You’ll Need
- Pour-Over Dripper – Hario V60, Chemex, Kalita Wave, or Melitta
- Paper Filters – Match your dripper type
- Gooseneck Kettle – Essential for controlled pouring
- Coffee Scale – Measures coffee and water
- Burr Grinder – Fresh ground coffee is crucial
- Timer – Built into most scales or use your phone
- Fresh Coffee Beans – Light to medium roast
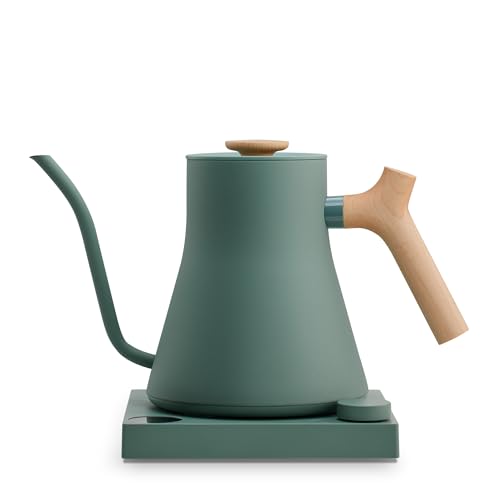
Gooseneck kettle
Fellow Stagg EKG Pro
The narrow spout gives you a slow, placeable stream, and it holds a set temperature so you can sit on the 200 degrees this recipe specifies. Built-in brew timer.

Scale with timer
Fellow Tally Pro Coffee Scale
0.1 g resolution with a timer, which is what the staged 1:16 recipe needs: pour to 60 percent of total water, wait, finish to target.
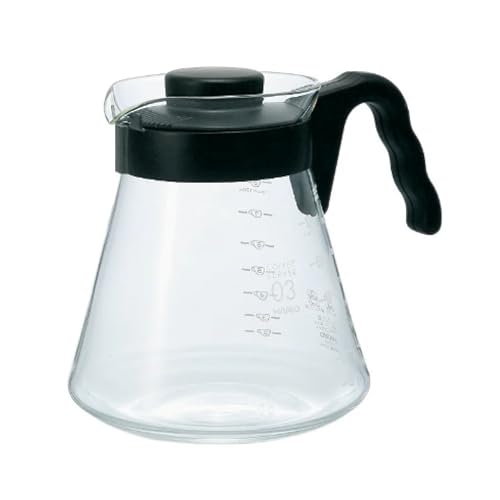
Server
Hario V60 Glass Coffee Server, 1000 ml
The carafe the V60 cone sits on, marked in cups so you can read the yield as it brews. Heatproof glass, and it holds a double batch.
The two drippers worth starting with

Most control
Hario V60 Ceramic Pour Over Set, Size 02
Why it fits
A 60-degree cone with a single large hole and deep spiral ribs, which means the dripper does almost nothing to regulate flow: your pour rate and grind size determine the brew time entirely. That is the point. It is the most responsive dripper to technique, which makes it the best one to learn on if you intend to learn. Ceramic holds heat better than plastic through the drawdown, and the set includes the server and a measuring scoop. Size 02 covers one to four cups.
Limitations
Because it regulates nothing, it punishes an uneven pour: the same coffee can land anywhere from sour to bitter depending on the spiral. Ceramic needs preheating or it steals heat from the first pour, and it chips. Requires V60-specific cone filters.

Most forgiving
Kalita Wave Dripper, Size 185
Why it fits
A flat bottom with three small holes and a wave filter that touches the walls only at its ridges. Both features do the same job: they restrict and even out flow, so the brew time stays roughly where it should be even when your pour is sloppy. If you want repeatable coffee rather than a technique exercise, this is the dripper that gets you there faster. The 185 size makes 16-26 oz.
Limitations
The same restriction that makes it forgiving caps how much you can change the brew by changing your pour, so there is less to explore. Wave filters cost more than cones and are less widely stocked. The flat bed gives up a little clarity against a well-executed V60.
The Perfect Pour-Over Recipe
Ratio: 1:16 (15g coffee to 240g water for one cup, or 30g to 480g for two)
Grind: Medium (like table salt)
Water temp: 200°F (93°C)
Total time: 2:30-3:30 minutes
Step-by-Step Pour-Over Technique
Step 1: Prepare Your Setup
Place filter in dripper, rinse with hot water to remove paper taste and preheat the vessel. Discard rinse water. Place dripper on scale, add ground coffee, and tare to zero.
Step 2: The Bloom (0:00-0:45)
Start timer. Pour 2-3x the weight of your coffee in water (30-45g for 15g coffee) in a gentle spiral, ensuring all grounds are saturated. Wait 30-45 seconds while CO2 releases and the coffee blooms.
Step 3: First Pour (0:45-1:15)
Pour in a slow spiral from center outward to 60% of total water (about 150g for a 240g brew). Maintain a steady, gentle pour. Avoid pouring directly on the filter.
Step 4: Second Pour (1:15-2:00)
Once water level drops to about 1 inch from the grounds, add remaining water in the same spiral pattern, reaching your target weight (240g total).
Step 5: Drawdown (2:00-3:00)
Let the water drain completely. Total brew time should be 2:30-3:30. If faster, grind finer. If slower, grind coarser.
Pro Tips
- Water quality matters – Use filtered water
- Pulse pouring – Some prefer 3-4 smaller pours instead of continuous
- Stir the bloom – Gentle stir ensures even saturation
- Preheat everything – Keeps brew temperature stable
- Experiment with ratios – Try 1:15 for stronger, 1:17 for lighter
Shop this guide