This post contains affiliate links. If you buy through them, brewing.com earns a commission at no cost to you. How we pick products
Kombucha · Guide
Best Kombucha Brewing Vessels
| Pick | Best for | Price |
|---|---|---|
| Linen Jar Cloth Covers with Bands, 5 pack | Breathable covers | $9.99 ↗ as of 17 Sep 2026, 1:34am GMT+0000 Details (paid link) |
| Brewer's Elite Hydrometer and Test Jar | Hydrometer | $21.99 ↗ as of 17 Sep 2026, 1:34am GMT+0000 Details (paid link) |
| 1 Gallon Glass Jars with Lids, Wide Mouth | Straightforward gallon | $33.98 ↗ as of 17 Sep 2026, 1:34am GMT+0000 Details (paid link) |
| Glass Fermentation Jar, Wide Mouth | Larger fermentation jar | $42.99 ↗ as of 17 Sep 2026, 1:34am GMT+0000 Details (paid link) |
| EZTOCH Food pH Meter | pH measurement | $39.99 ↗ as of 17 Sep 2026, 1:34am GMT+0000 Details (paid link) |
Prices come from Amazon and refresh nightly. A pick shows “Check price” when we do not have a current figure for it.
Introduction to Kombucha Brewing
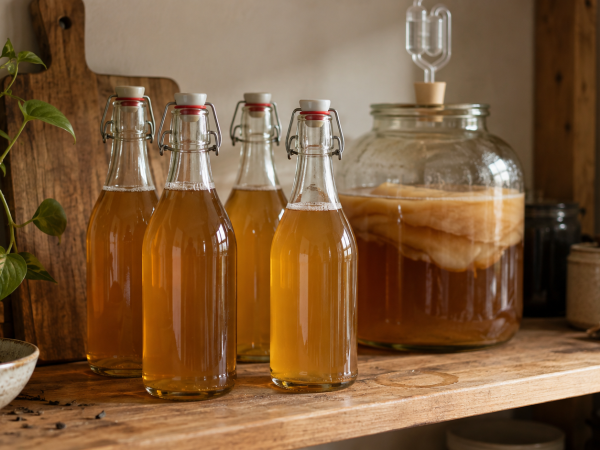
For more kombucha tips, check out our kombucha brewing guides.Kombucha is a fermented tea drink that has gained popularity in recent years due to its potential health benefits. To brew kombucha, you need a suitable vessel that can provide the right environment for fermentation. In this article, we will explore the best kombucha brewing vessels available in 2025.
Equipment List
- Large glass jar or container with a wide mouth
- Cheesecloth or a coffee filter
- Rubber band
- Stirring spoon
- Thermometer
- Hydrometer (optional)
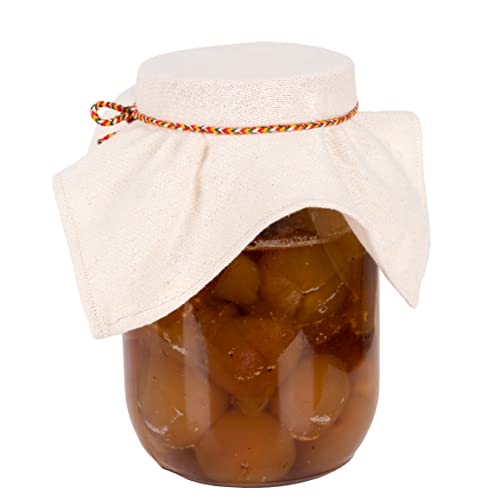
Breathable covers
Linen Jar Cloth Covers with Bands, 5 pack
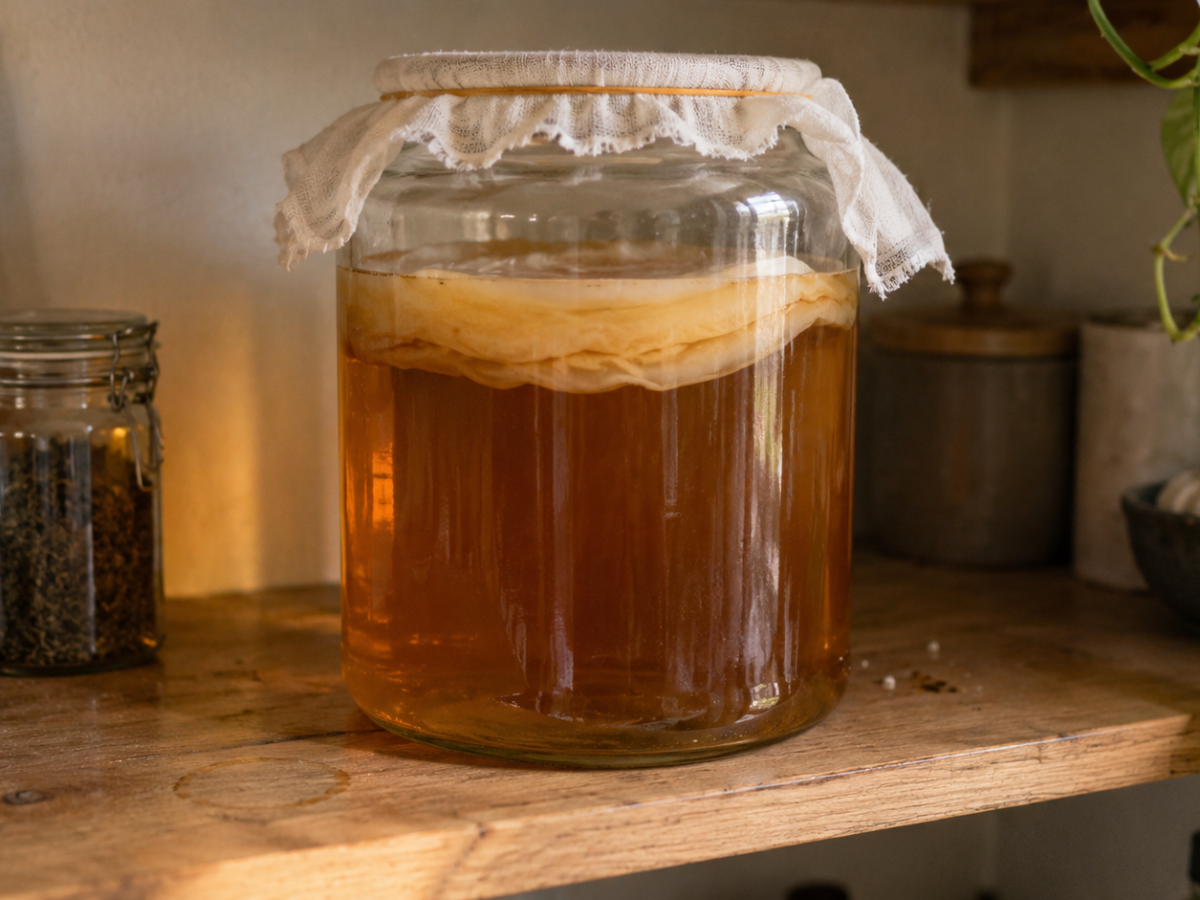
Kombucha needs airflow and no fruit flies at once. Woven linen with a band does both, and unlike cheesecloth the weave does not sag into the brew.

Step-by-Step Brewing Guide
To brew kombucha, follow these steps:
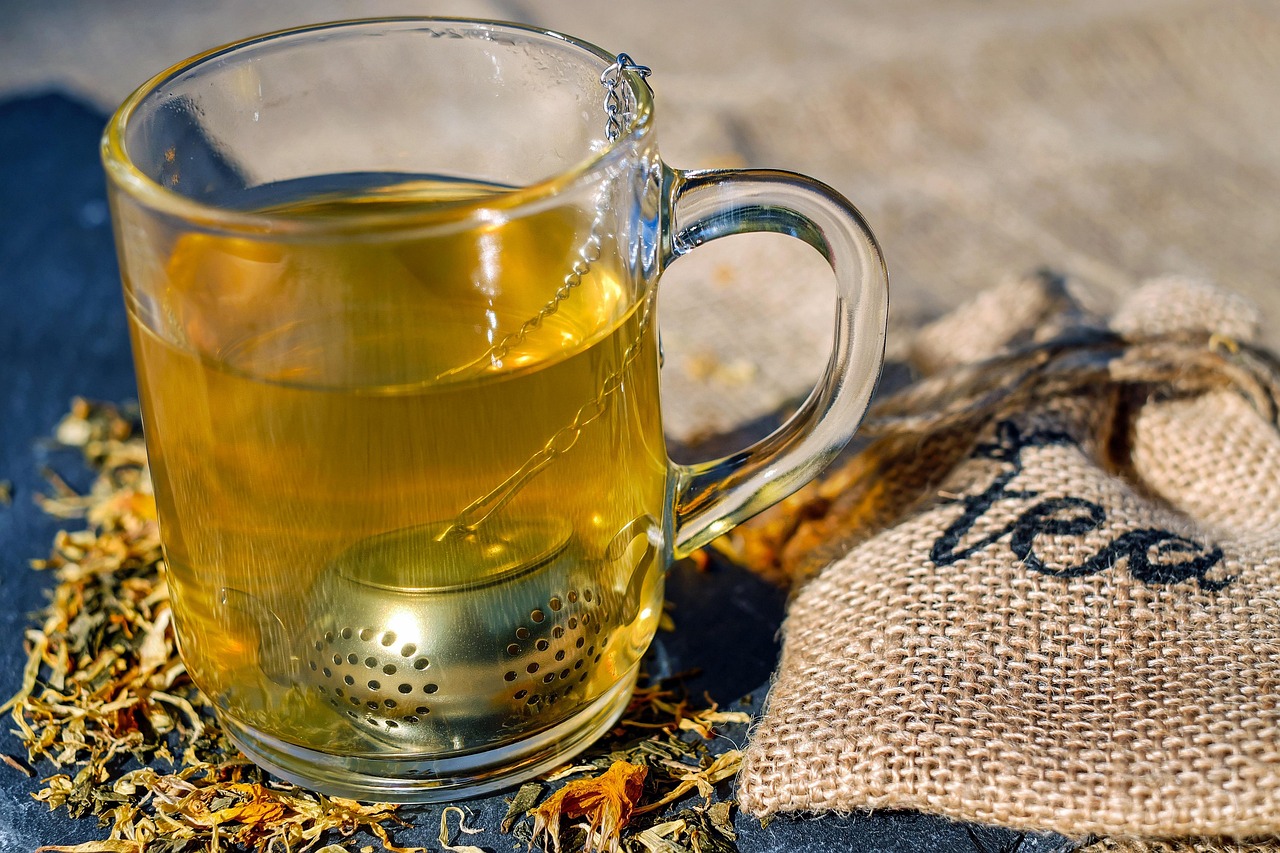
- Make a sweet tea by boiling water and adding sugar and tea bags.
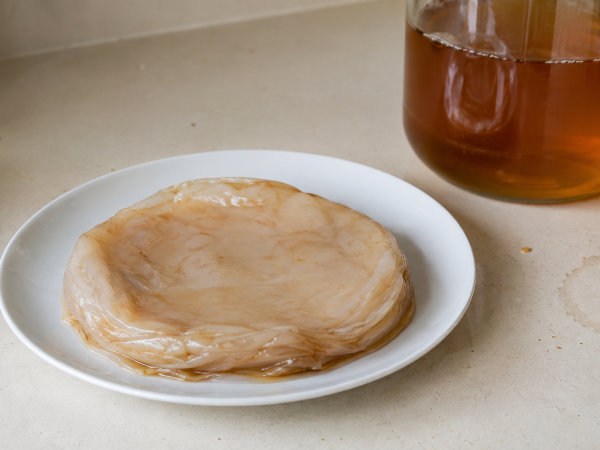
- Let the tea cool down and add the starter culture (SCOBY) and starter tea.
- Cover the vessel with cheesecloth or a coffee filter and secure it with a rubber band.
- Place the vessel in a warm, dark place and let it ferment for 7-14 days.
- After fermentation, remove the SCOBY and starter tea, and transfer the kombucha to the refrigerator to slow down fermentation.
Choosing the Right Brewing Vessel
The right brewing vessel is crucial for successful kombucha fermentation. Look for a vessel that is:
- Made of glass or food-grade plastic
- Large enough to hold at least 1 gallon of liquid
- Wide-mouthed for easy cleaning and SCOBY removal
Vessels that meet those three tests
A fourth criterion belongs on that list and is not negotiable: no metal in contact with the brew. Finished kombucha sits around pH 2.5 to 3.5, acidic enough to leach from reactive metals over a week-long ferment, which is why glass is the default and why stainless is the only metal that belongs anywhere near it.

Straightforward gallon
1 Gallon Glass Jars with Lids, Wide Mouth
Why it fits
It satisfies all three criteria above without extras: glass, a full gallon, and a mouth wide enough to get a hand in and lift a SCOBY out whole rather than fighting it through a narrow neck. The gallon size matches the standard home recipe of a gallon of sweet tea to a cup of starter, which is what nearly every published kombucha ratio assumes.
Limitations
Glass at a gallon is heavy and slippery when wet, and there is no spigot, so serving means tipping or ladling. The supplied lids are for storage, not for fermenting; you still need a breathable cloth cover and a band for the ferment itself.

Larger fermentation jar
Glass Fermentation Jar, Wide Mouth
Why it fits
A larger wide-mouth glass fermenter for brewers who have moved past a single gallon, or who want headroom above the liquid so the SCOBY is not pressed against the cloth. Same material argument applies, and the wide mouth keeps SCOBY handling and scrubbing manageable at the larger size.
Limitations
Bigger means heavier and harder to store, and a larger surface area exposed to the room is a larger target for airborne contamination if the cover is not tight to the rim. Scaling the recipe up also means a longer wait before you find out whether the batch worked.
Pro Tips for Kombucha Brewing
Here are some pro tips to improve your kombucha brewing experience:
- Use a consistent fermentation schedule to ensure consistent flavor and quality.
- Monitor the temperature and pH levels to optimize fermentation.
- Experiment with different flavors and ingredients to create unique kombucha recipes.
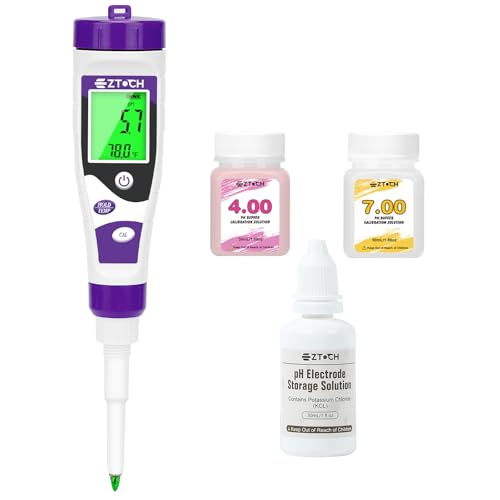
pH measurement
EZTOCH Food pH Meter
That pro tip needs an instrument. A finished batch should land near pH 2.5 to 3.5, and a batch that has not dropped below about 4.2 in the first days is the one at risk of mould.
Looking for more brewing resources? Browse our fermentation equipment or visit our beer and fermentation for more tools and tips.
Frequently Asked Questions
Here are some frequently asked questions about kombucha brewing:
- Q: What is the ideal temperature for kombucha fermentation?
- A: The ideal temperature for kombucha fermentation is between 68-85°F (20-30°C).
- Q: How long does it take to brew kombucha?
- A: The fermentation time for kombucha can range from 7-14 days, depending on the desired level of sourness and carbonation.
Shop this guide