This post contains affiliate links. If you buy through them, brewing.com earns a commission at no cost to you. How we pick products
Kombucha · Guide
How to Flavor Kombucha Naturally: A Step-by-Step Guide
| Pick | Best for | Price |
|---|---|---|
| Kombucha Swing Top Glass Bottles | Bottles built for the pressure | $27.95 ↗ as of 24 Oct 2026, 4:45am GMT+0000 Details (paid link) |
| Canning Funnel with Strainer, Wide Mouth | Filling | $8.49 ↗ as of 24 Oct 2026, 4:45am GMT+0000 Details (paid link) |
| Calphalon Prime Edge 5-Inch Fine Mesh Strainer | Straining | $11.95 ↗ as of 24 Oct 2026, 4:45am GMT+0000 Details (paid link) |
| 1 Gallon Glass Jars with Lids, Wide Mouth | Primary vessel | $39.98 ↗ as of 24 Oct 2026, 4:45am GMT+0000 Details (paid link) |
Prices come from Amazon and refresh nightly. A pick shows “Check price” when we do not have a current figure for it.

Introduction to Natural Kombucha Flavoring
Kombucha, a fermented tea drink, has gained popularity for its potential health benefits and unique flavor profiles. While store-bought kombucha can be convenient, flavoring it naturally at home allows for customization and avoids artificial additives. This guide will walk you through the equipment needed, a step-by-step process, and pro tips for flavoring kombucha naturally.
Equipment List
- Large glass jar or container for fermentation
- Cheesecloth or a coffee filter
- Rubber band
- Tea bags (black, green, or herbal)
- Sugar
- Water
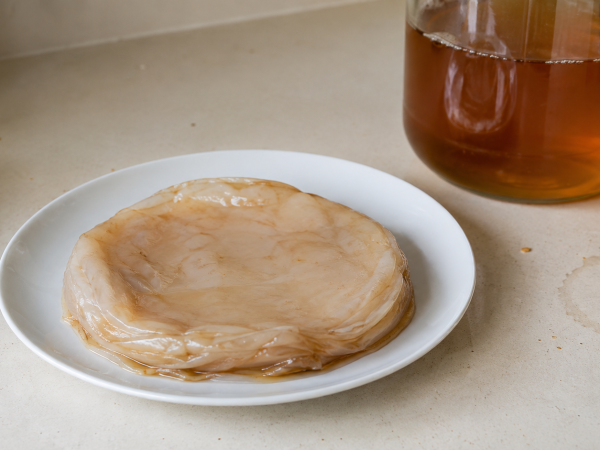
- SCOBY (Symbiotic Culture of Bacteria and Yeast)
- Flavorings of choice (fruits, herbs, spices)
- Bottles for secondary fermentation and storage
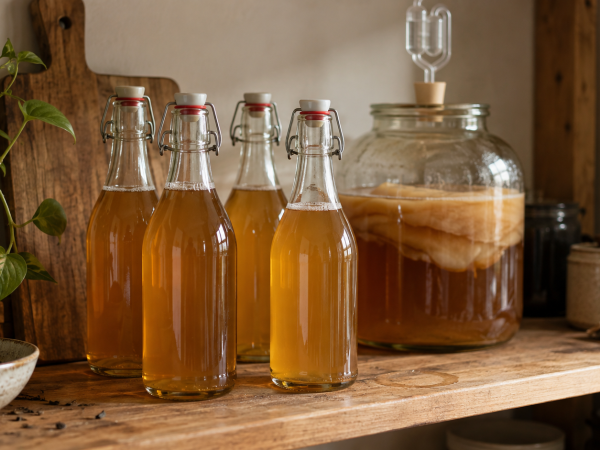
The bottles are the item on that list that has a wrong answer. Adding fruit to finished kombucha and sealing it restarts fermentation with fresh sugar, and the CO2 has nowhere to go; a screw-cap jar or a repurposed bottle is a genuine hazard at the pressures a vigorous second ferment reaches. Bottles for this job are thick-walled with a gasket seal.

Bottles built for the pressure
Kombucha Swing Top Glass Bottles
Why it fits
Thick glass with a swing-top gasket, which is the design that belongs on a pressurised second ferment: the seal holds the carbonation in and the ceramic-and-wire mechanism is easy to crack open a fraction to release pressure if a bottle is running away from you. Dark or heavy glass also shields the contents from light during the days they sit at room temperature.
Limitations
Swing-top gaskets are a wear part; a perished seal stops holding carbonation and you will blame the recipe first. They need genuine cleaning around the ceramic stopper and wire, where pulp collects. Even correct bottles will fail if left too long at room temperature with fruit in them, so refrigerate on schedule.

Filling
Canning Funnel with Strainer, Wide Mouth
Getting kombucha into a narrow-necked bottle without a funnel means losing some of it. The strainer insert doubles as the filter for fruit pulp.

Straining
Calphalon Prime Edge 5-Inch Fine Mesh Strainer
For removing fruit solids and yeast strands before the bottles go in the fridge, so the ferment actually stops where you want it to.

Primary vessel
1 Gallon Glass Jars with Lids, Wide Mouth
The gallon jar step two assumes. Wide-mouthed so the SCOBY comes out whole, and glass because a week at pH 3 is no place for reactive materials.
Step-by-Step Guide to Flavoring Kombucha
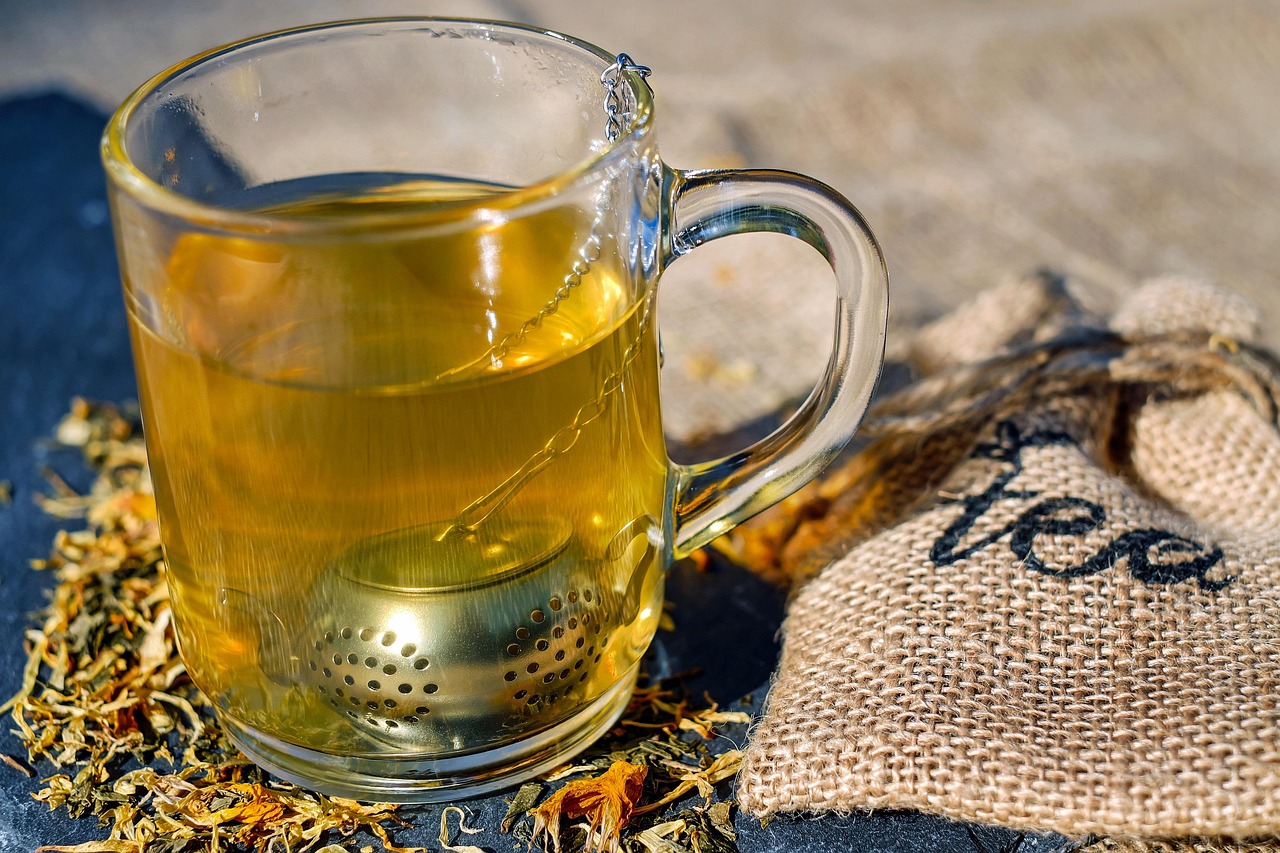
1. Brew the Sweet Tea: Boil water, add sugar and tea bags, and let it steep. Then, remove the tea bags and let the mixture cool down.
2. Add the SCOBY and Ferment: Once the tea has cooled, add the SCOBY and cover the jar with cheesecloth or a coffee filter secured by a rubber band. Let it ferment in a dark, warm place for 7-14 days, depending on the desired level of sourness.
3. Taste and Bottle: After the initial fermentation, taste the kombucha to determine if it has reached the desired level of sourness. If so, proceed to remove the SCOBY and bottle the kombucha for secondary fermentation.
4. Secondary Fermentation for Flavoring: This step is where you add your natural flavorings. Place your chosen fruits, herbs, or spices in the bottle with the kombucha and let it undergo a secondary fermentation (usually 1-3 days) at room temperature. This allows the flavors to meld with the kombucha.
5. Strain and Store: After secondary fermentation, strain the kombucha to remove the added flavorings and transfer it to the refrigerator to slow down fermentation and halt carbonation.
Pro Tips for Natural Flavoring
- Experiment with Flavors: Try different combinations of fruits, herbs, and spices to create unique flavors.
- Use Fresh Ingredients: Fresh fruits and herbs tend to impart more vibrant flavors than dried or frozen alternatives.
- Monitor Fermentation Time: The longer the fermentation, the stronger the flavor and the higher the carbonation.
- Maintain Hygiene: Always use clean equipment and hands when handling the SCOBY and kombucha to prevent contamination.
Frequently Asked Questions (FAQ)
Q: Is Kombucha Safe to Drink? A: When brewed and handled properly, kombucha is safe for most adults. However, it’s recommended to consult a healthcare professional if you have any health concerns.
Q: How Long Does Kombucha Last? A: Once bottled and refrigerated, kombucha can last for several weeks. It’s best consumed fresh but can be stored for later use.
Q: Can I Use Different Types of Tea? A: Yes, you can experiment with various tea types, such as green tea, black tea, or herbal teas, to change the base flavor of your kombucha.
Conclusion
Flavoring kombucha naturally at home is a fun and rewarding process that allows you to create unique and delicious flavors. With the right equipment, a little patience, and some creativity, you can enjoy a variety of kombucha flavors without relying on store-bought options. Happy brewing!
Shop this guide