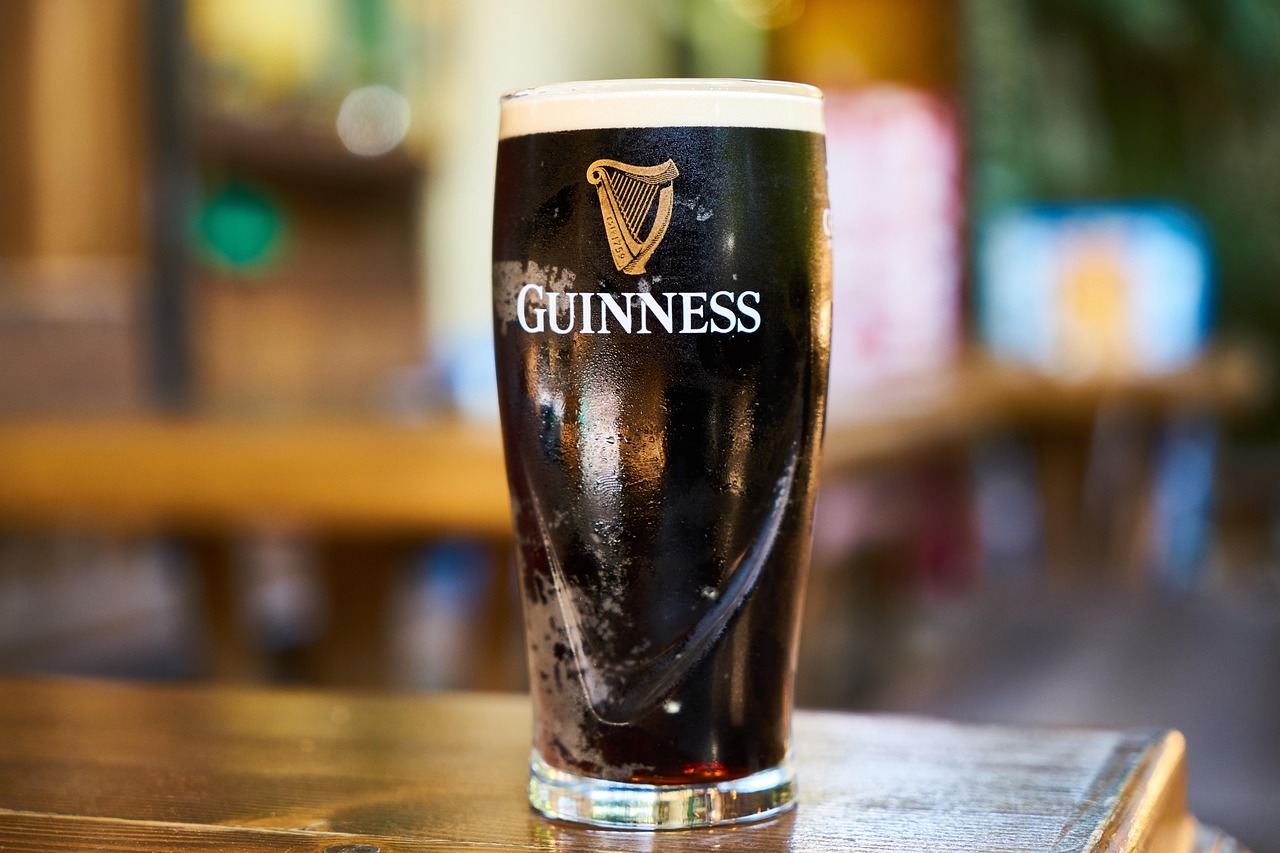
Why Brew Your Own Beer?
Homebrewing is rewarding, creative, and more affordable than you think. You’ll save money (homemade beer costs $0.50-1.00 per bottle), experiment with unlimited styles, and join a passionate community. Plus, nothing beats sharing a beer you brewed yourself.
What You’ll Need to Get Started
Essential Equipment ($100-150 starter kit)
- Fermenting Bucket – 5-gallon food-grade plastic with airlock ($20-30)
- Airlock and Stopper – Allows CO2 to escape during fermentation ($3-5)
- Bottling Bucket – With spigot for easy bottling ($20-30)
- Auto-Siphon – For transferring beer without oxidation ($10-15)
- Bottle Filler – Spring-loaded wand for mess-free bottling ($8-12)
- Bottles – 48-54 12oz bottles (recycle from store-bought beer) (Free-$20)
- Bottle Capper and Caps – ($15-25 + $5 for caps)
- Sanitizer – Star San is most popular ($10-15)
- Large Pot – Minimum 3 gallons, 5+ gallons better ($30-60)
- Thermometer – For monitoring temperatures ($5-15)
- Hydrometer – Measures alcohol content ($5-10)
Ingredients for Your First Batch
- Malt Extract – Pre-made beer ingredient kit ($25-40) includes malt, hops, and yeast
- Priming Sugar – For carbonation (usually included in kit)
The Homebrewing Process (Extract Method)
Step 1: Sanitize Everything
This is the MOST IMPORTANT step. Everything that touches your beer after boiling must be sanitized. Mix Star San according to directions (1 oz per 5 gallons water). Soak all equipment for 2 minutes.
Step 2: Boil the Wort
Fill your pot with 2.5-3 gallons of water. Heat to 160°F, remove from heat, and stir in malt extract until completely dissolved. Return to heat and bring to a rolling boil. Add hops according to your kit’s schedule (typically at 60 minutes, 15 minutes, and 0 minutes before end of boil). Boil for 60 minutes total.
Step 3: Cool the Wort
Cool wort to 70-75°F as quickly as possible. Use an ice bath (place pot in sink filled with ice water) or a wort chiller. This takes 20-40 minutes. Quick cooling prevents contamination and improves clarity.
Step 4: Transfer to Fermenter
Pour cooled wort into sanitized fermenting bucket. Add cold water to reach 5 gallons total. Take a hydrometer reading (your Original Gravity). Pitch (add) yeast by sprinkling it on top. Seal bucket and attach airlock filled with sanitizer or vodka.
Step 5: Fermentation (1-2 weeks)
Store fermenter in a dark place at 65-72°F. Within 24 hours, you’ll see bubbling in the airlock. Primary fermentation takes 7-14 days. Fermentation is complete when bubbling stops and gravity reading is stable for 2-3 days.
Step 6: Bottling
Boil priming sugar (5 oz for 5 gallons) in 2 cups water for 5 minutes. Cool and add to sanitized bottling bucket. Siphon beer from fermenter to bottling bucket (avoid disturbing sediment). Fill bottles using bottle filler, leaving 1 inch headspace. Cap immediately.
Step 7: Carbonation (2 weeks)
Store bottles at room temperature for 2 weeks. The priming sugar will carbonate your beer. After 2 weeks, refrigerate and enjoy!
Pro Tips for First-Time Brewers
- Sanitize obsessively – Infection ruins batches
- Take good notes – Record everything for repeating successes
- Be patient – Rushing leads to off-flavors
- Control temperature – Consistent temps produce better beer
- Start with extract kits – Don’t jump to all-grain yet
- Join a homebrew club – Local knowledge is invaluable
Common Beginner Mistakes
- Not sanitizing properly
- Boiling over (watch your pot!)
- Pitching yeast into hot wort (kills the yeast)
- Bottling too early (glass grenades from over-carbonation)
- Using too much priming sugar
- Opening fermenter frequently (risk of infection)
